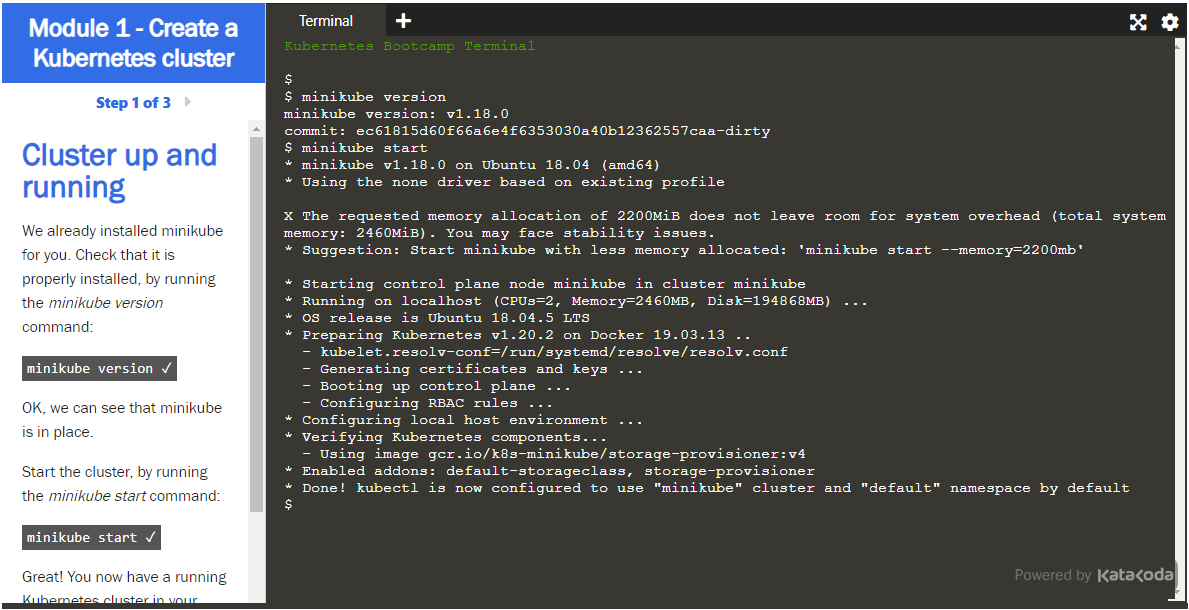
To familiarize yourself with the topic, let's start with the implementation of a cluster consisting of a single node. For more information, see the official minikube website.
Practice in a simulated environment
Before starting with the installation of our mini-cluster, it is possible to do some practice in a simulated environment. By connecting to the site Minikube Tutorial, you can learn the commands and fundamental components useful for managing a cluster. In this tutorial, in addition to studying theory, you will also have to touch how to manage a sample app on Kubernetes using Minikube and Katacoda (Katacoda provides a free, in-browser Kubernetes environment): you will learn how to deploy a sample application on Minikube, run the app, view application logs, and so on.
Installation
Assumption
Container or virtual machine manager (e.g. Docker, Hyperkit, Hyper-V, KVM, Parallels, Podman, VirtualBox, or VMware Fusion/Workstation) must be installed on your VM.
Let's try to install MiniKube and Kubectl on our VM
$ curl -LO https://storage.googleapis.com/minikube/releases/latest/minikube-linux-amd64
$ sudo install minikube-linux-amd64 /usr/local/bin/minikube

$ curl -LO https://storage.googleapis.com/kubernetes-release/release/$(curl -s https://storage.googleapis.com/kubernetes-release/release/stable.txt)/bin/linux/amd64/kubectl
$ chmod +x kubectl
$ sudo mv kubectl /usr/local/bin/
Launch the MiniKube cluster
To verify that no errors were found in the procedure carried out, we launch a couple of control commands. The output should look like this
MiniKube Dashboard
Now, we launch the MiniKube dashboard via
# The dashboard could be already enabled for your minikube deployment, you can check with the following command
$ minikube addons list

# In case it's not enabled, to enable the dashboard for your minikube deployment, use
$ minikube addons enable metrics-server
$ minikube addons enable dashboard
There are some workarounds to have kubectl proxy work in this environment:
- use
kubectl port-forwardto expose the dashboard; - configure
kubectlon your local machine (your laptop) so that it can talk to the minikube cluster running on the remote VM; - expose the dashboard using the ingress controller (or a nodeport service).
The solution that is simpler to implement is the first one.
kubectl --namespace=kubernetes-dashboard port-forward --address 0.0.0.0 svc/kubernetes-dashboard 8080:80
Forwarding from 0.0.0.0:8080 -> 9090
By entering within a browser the address http://<FIP_VM>:8080, we connect to our dashboard
Uninstall MiniKube
To uninstall MiniKube run the following commands


2 Comments
Anonymous
Oct 13, 2020At the "Configuration changes" step, hostname -i should probably be included in backticks <`> instead of single quotes <'>. Better yet would be to write $(hostname -i), so as to be more readily legible.
Francesco Sinisi
Oct 16, 2020I took your advice.