-
Created by
 Andrea Rendina, last updated by Carmelo Pellegrino on Jun 26, 2025
3 minute read
Andrea Rendina, last updated by Carmelo Pellegrino on Jun 26, 2025
3 minute read
Requesting a digital personal certificate (INFN users only)
Using Tier1 computing and storage resources by means of the Grid tools requires a personal (digital) X509 certificate, which is not needed when using resources locally. A personal certificate can be obtained following these instructions [11]:
- Go to your own Web Browser and open the URL https://cm.harica.gr/
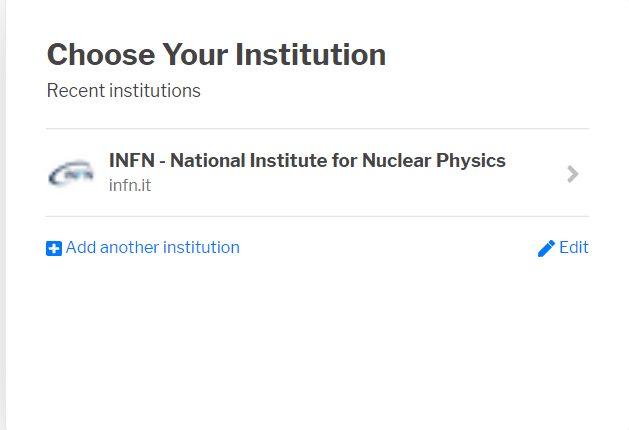
- Via the Academic Login choose your institution (e.g. INFN)
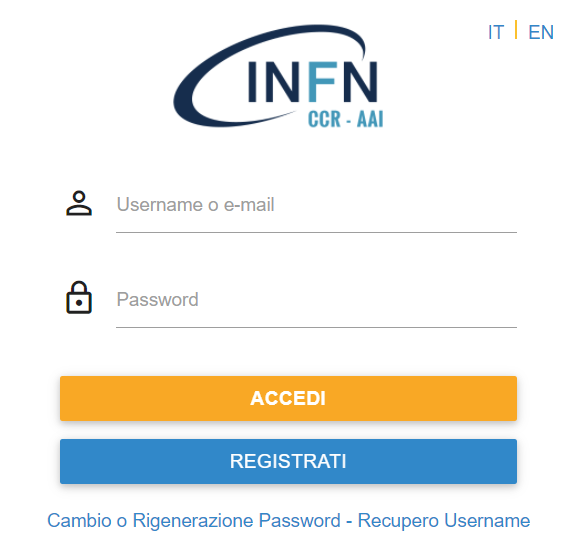
- log in INFN-AAI
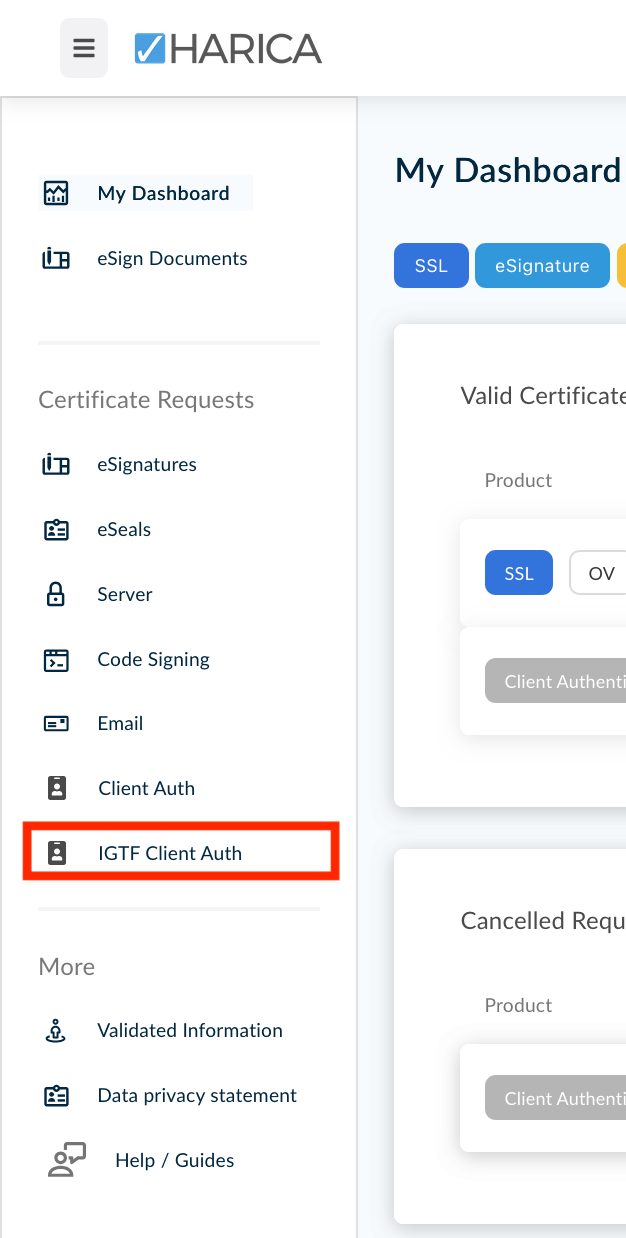
- After logging in successfully there should be a menu on the left-hand side with the option IGTF Client Auth
- Between all the available options please select GÈANT Personal Authentication
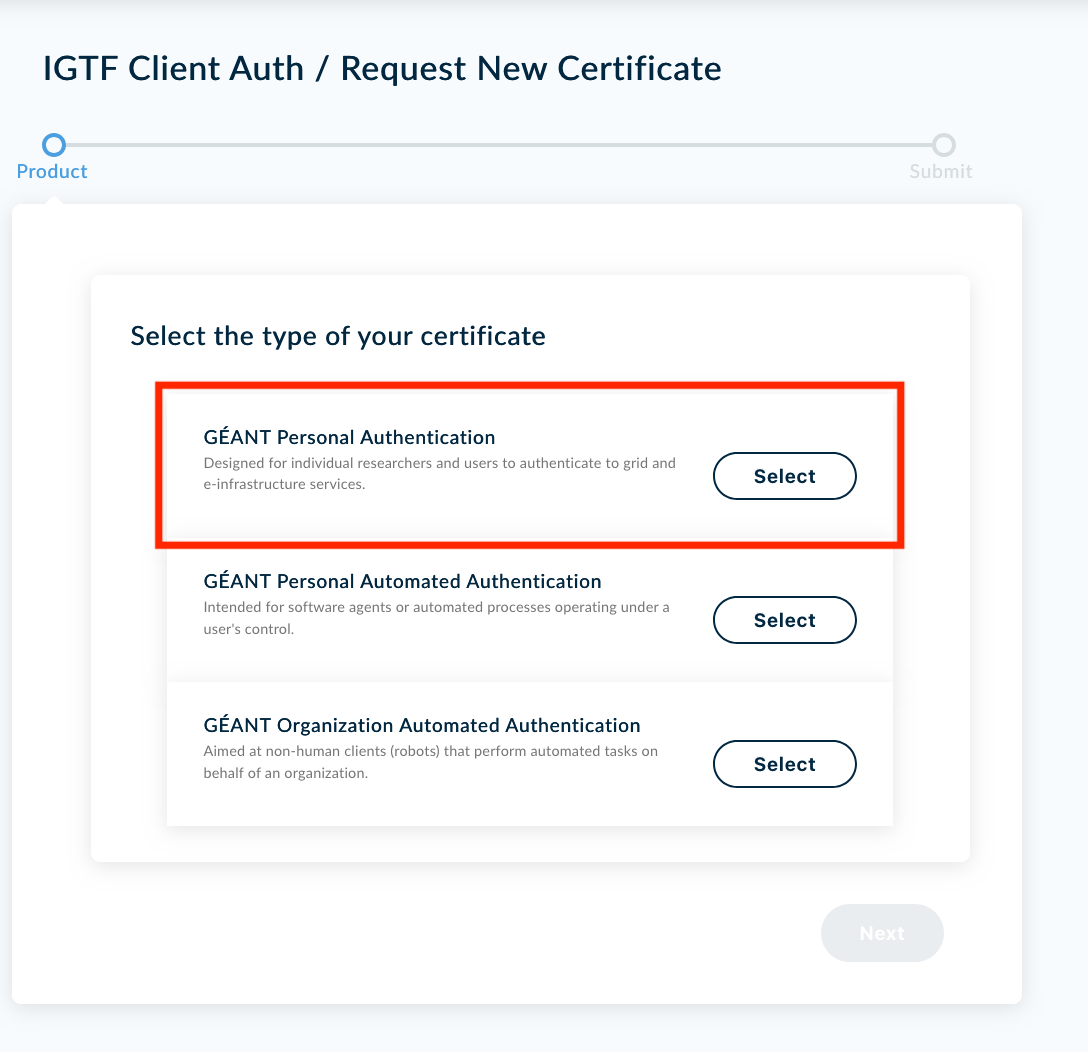
- It will be asked to confirm the certificate type, just click on NEXT to confirm
- After aggreeinxg to the Terms of Use and the Certification Practices the certificate request can be submitted
- The site will redirect to the home dashboard and there should be the pending request
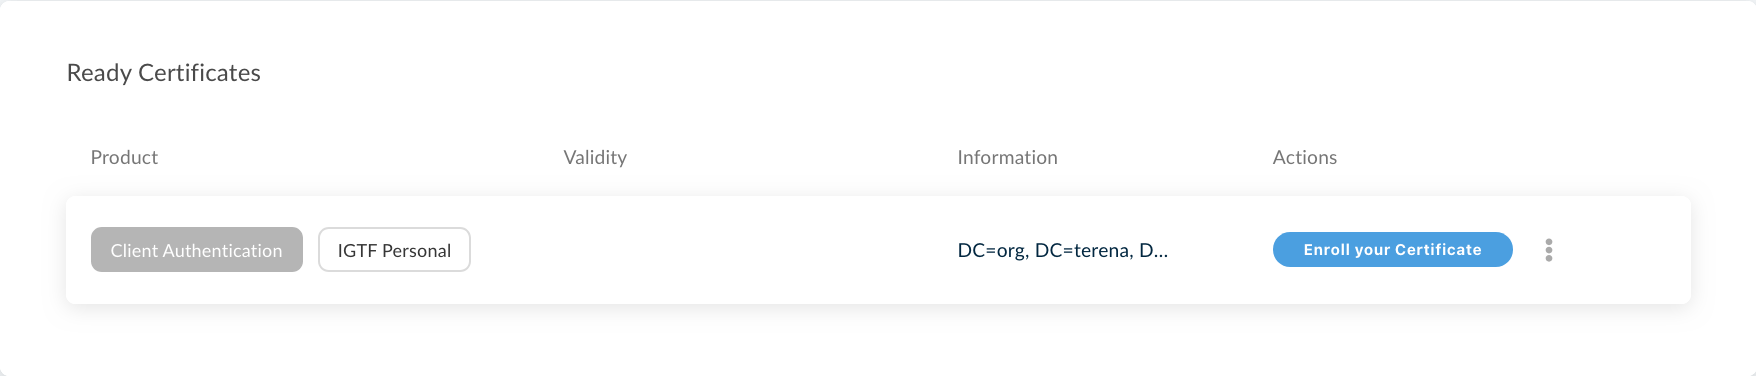
- After clicking on Enroll your Certificate you'll be able to define the signing key of your certificate and a passphrase
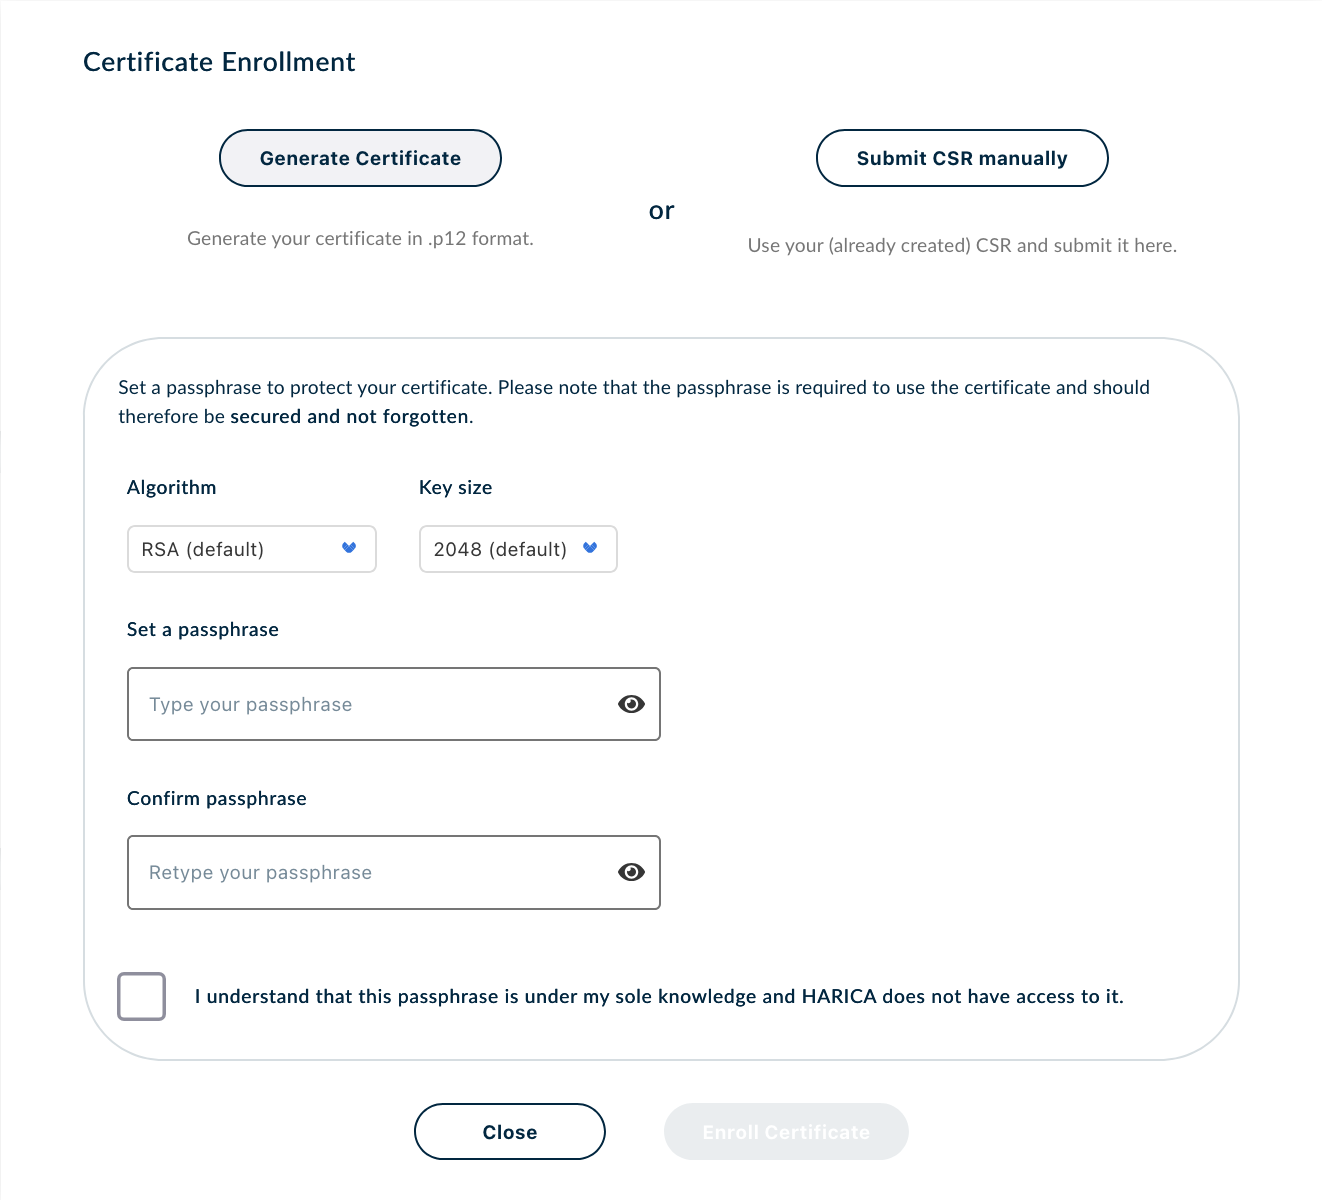
- After completing this procedure the certificate will be created and will be available on the dashboard
- Download the certificate and then import it in your own browser and check it in the user certificate manager of your browser
Certificate Installation on a user interface
Once obtained the pkcs12 bundle (Certificate.p12), it is necessary to split it in public and private keys in PEM format and put them in the .globus/ folder in side your home directory in the UI.
$ cd $HOME
$ mkdir .globus
$ cd .globus
$ openssl pkcs12 -clcerts -nokeys -in Certificate.p12 -out usercert.pem
$ openssl pkcs12 -nocerts -in Certificate.p12 -out userkey.pem
$ chmod 600 usercert.pem
$ chmod 400 userkey.pem
The files must have the following permissions:
-rw------- 1 arendina user-support 3257 Jul 1 17:02 usercert.pem
-r-------- 1 arendina user-support 2661 Jul 1 17:03 userkey.pem
Interacting with the VOMS server
To transfer files or submit jobs using VO-based authentication (need registration on an experiment VOMS server), first the user have to generate a proxy with VOMS extensions using the command:
$ voms-proxy-init --voms <vo name>
To check the proxy:
$ voms-proxy-info --all
The output should be something like:
subject : /DC=org/DC=terena/DC=tcs/C=IT/O=Istituto Nazionale di Fisica Nucleare/CN=Andrea Rendina arendina@infn.it/CN=1964287159
issuer : /DC=org/DC=terena/DC=tcs/C=IT/O=Istituto Nazionale di Fisica Nucleare/CN=Andrea Rendina arendina@infn.it
identity : /DC=org/DC=terena/DC=tcs/C=IT/O=Istituto Nazionale di Fisica Nucleare/CN=Andrea Rendina arendina@infn.it
type : RFC3820 compliant impersonation proxy
strength : 1024
path : /tmp/x509up_u10162
timeleft : 11:47:50
key usage : Digital Signature, Key Encipherment
=== VO juno extension information ===
VO : juno
subject : /DC=org/DC=terena/DC=tcs/C=IT/O=Istituto Nazionale di Fisica Nucleare/CN=Andrea Rendina arendina@infn.it
issuer : /C=CN/O=HEP/OU=CC/O=IHEP/CN=voms.ihep.ac.cn
attribute : /juno/Role=NULL/Capability=NULL
timeleft : 11:47:50
uri : voms.ihep.ac.cn:15008
If the "VO extension information" is not present or any of the timeleft field is zero, the proxy has no VOMS extensions and it has to be regenerated.